
Scrubbies. Unsponges. Whatever you call them. Reusable dish sponges is what they are.

I’ve been making to have a go at making some for a while and the combination of isolation and running out of our usual dish sponges proved to be the catalyst I needed.I always feel guilty using regular dish sponges, the ones that are available for pennies in the supermarket but are essentially plastic germ incubators. I’ve looked online at unsponges but they are fairly expensive for what they are, though I appreciate they cost what they cost due to using superior materials and being handmade rather than mass produced. However, it always slightly rankles that to live more sustainably it can easily cost us quite a bit more money, money most of us don’t have. I am determined that in many cases it doesn’t have to and am slowly finding ways of making inexpensive swaps. The cost often ends up being time, but most of us have a little more of that on our hands than usual at present (unless like me you are being tailed by one or more small human(s) – a 1 year old in my case – 90% of the time, but we do our best…)
Now, what these scrubbies are not is:
- Plastic free. They are made of scraps, some plastic based, in this case fruit nets and fleece off cuts, that would normally go in the bin.
- Zero waste. Eventually after several uses and washes they will die and have to be binned. But they should last longer than your average dish sponge.
What they are is:
- Reusable and washable. More robust than a dish sponge, these scrubbies can be washed repeatedly and used again. Easily more hygienic too for this reason.
- Totally free! They can be made from items most of us have lying around that would normally be destined for landfill.
- Recycled and waste reducing. See above. Partially biodegradable.
There is no reason they should not be made entirely from biodegradable materials which you can easily source. I’ve seen burlap/hessian used to make a rough surface for scrubbing.
In order to make these scrubbies, you will need:

Cotton scraps. And why shouldn’t they be pretty ones?
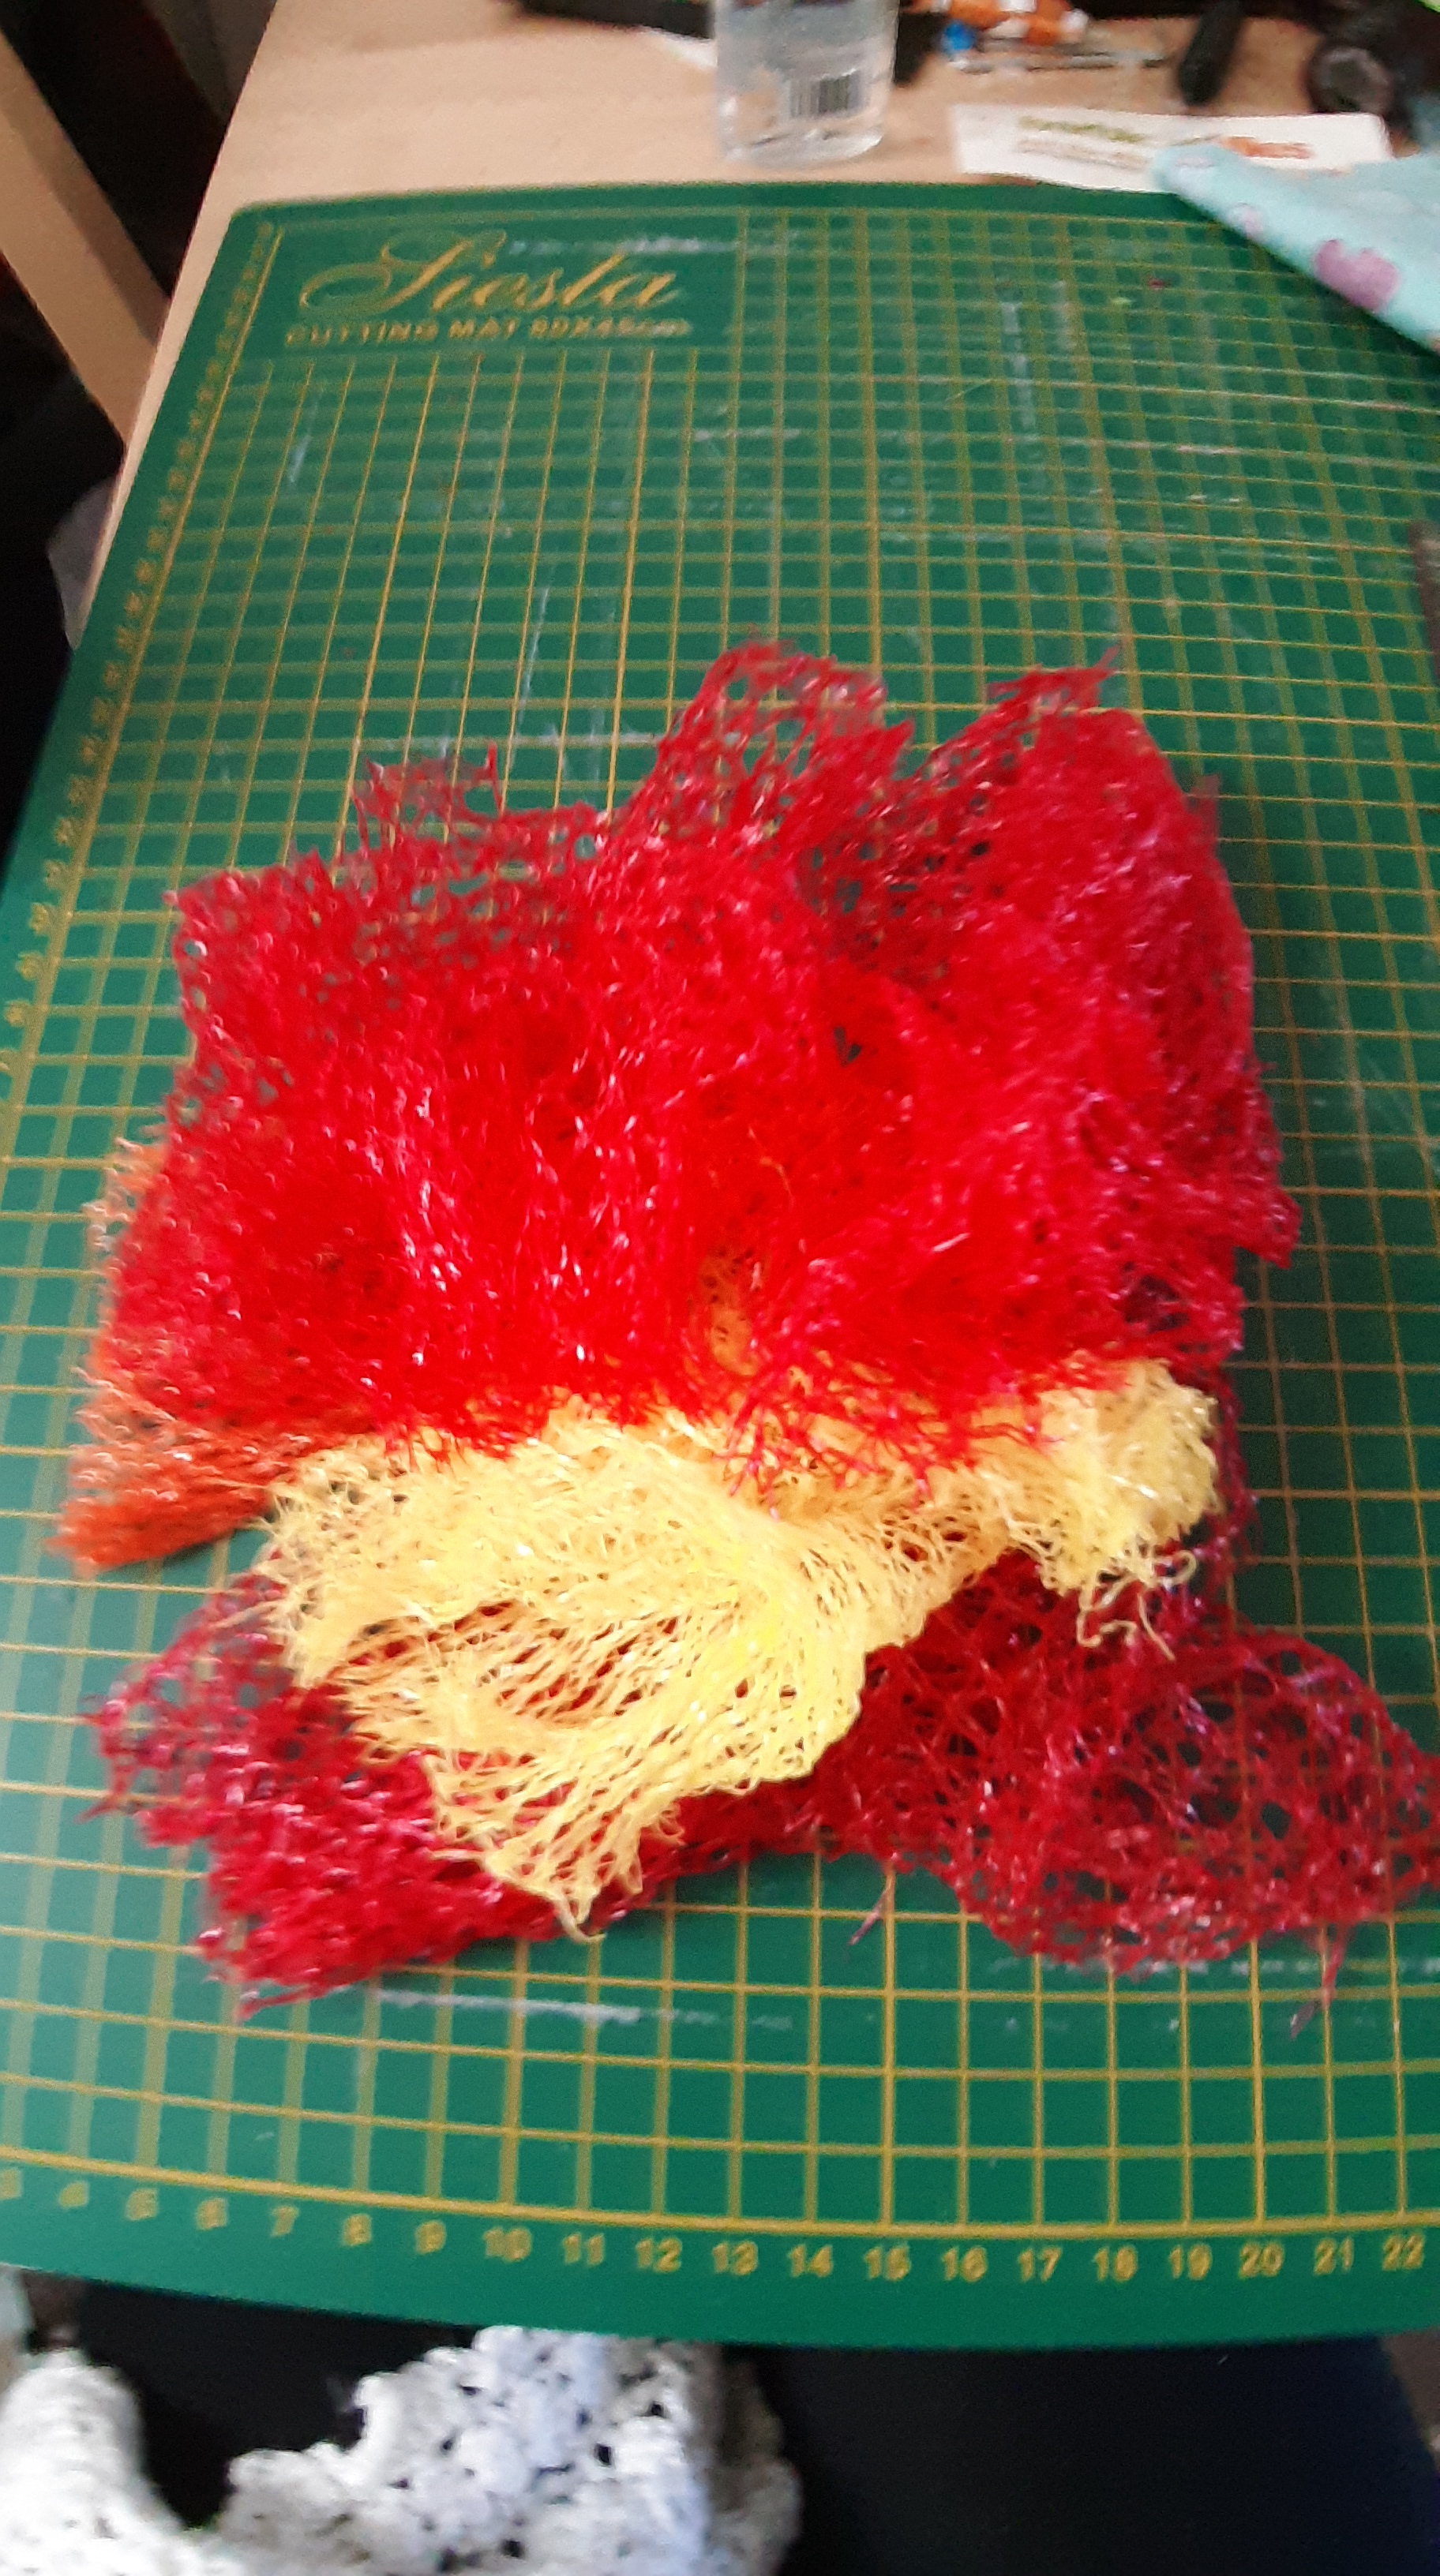
Fruit nets. Careful how you open them when taking out the fruit. Snip at one end then the other with scissors rather than tearing. You should be left with a loop of netting. Leave it like this and flatten into a rectangle with a double layer of netting.
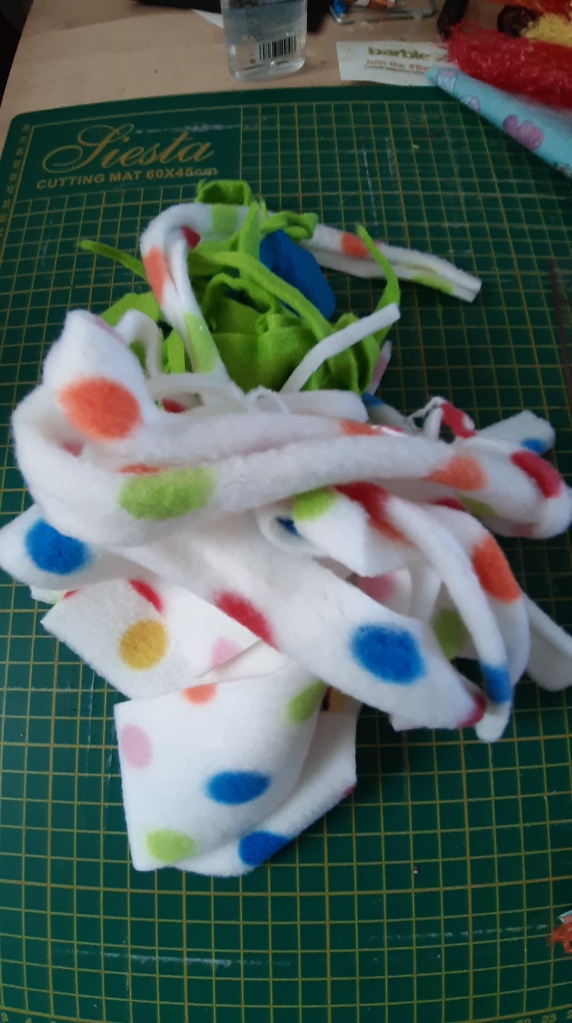
Fabric scraps. Anything with bounce and volume. I had some fleece and synthetic felt. Wadding would work too but I was trying to use up left overs.
An old cotton towel and cotton thread.
A sewing machine. You will be sewing through thick towelling and you want to avoid these scrubbies falling apart – they’re going to have a tough life!
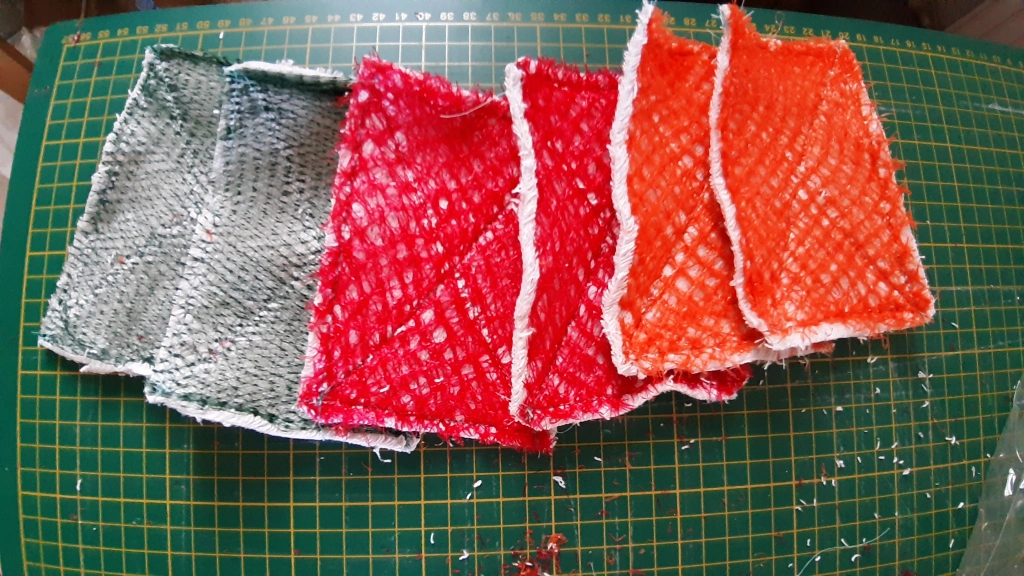
Begin by cutting out rectangles of towelling. Note: The size is up to you but I went by the size of the netting bags. I made one larger rectangle, the same size as the net bag, attached the netting and cut this in half to make two smaller rectangles.
With a sewing machine, attach your netting to the towelling by sewing along the two frayed edges of netting. (It is after this point I cut the rectangles in half) then sew along the other two sides of each rectangle. I also sewed diagonally across them to really securely attach the netting to the towelling.
Cut rectangles of cotton the same size as your net and towel pads.
With the right side of your cotton facing the net, sew together along all sides BUT leave a small 1 inch opening to turn them the right way out. The opening should be in the middle of one of the long sides so you can get the corners done.
Turn your scrubbies the right way out. You should have the cotton print on one side and netting on the other. There should be a gap along one side seam. Don’t close this yet.
Top stitch your scrubbies leaving a gap in the same place as the gap in your seam.
Stuff the middle if your scrubby with scraps of fleece or your chosen wadding. I didnt stuff mine too full. Actually, you don’t have to stuff them at all if you don’t want to.
Close the gap in your top stitching using your machine.
Close the gap in your seam by hand with a secure slip stitch.


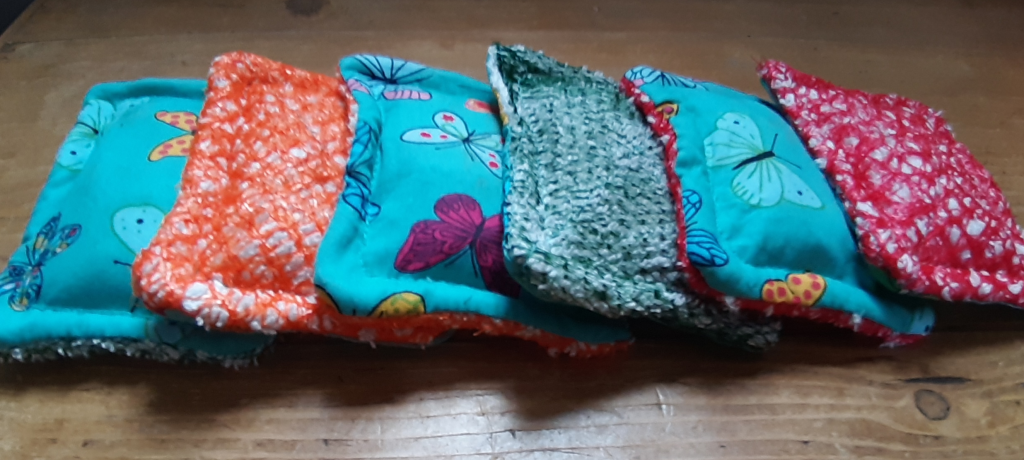
I’m really pleased with how these turned out and they didn’t take very long either. The fruit net really does do the job of scrubbing away bits from your plates and pans and is gentle enough not to damage non stick surface s. I thought bits of food might get lodged in the netting but so far, no such issues. And since I have a few of them, each one can be used for a day and chucked in the washing machine – so much better for keeping on top of those bugs, especially important right now.
Just to show you, the first one I made was double the size, the full size of the netting. It’s not bad, perhaps a bit too big to sit comfortably in hour hand but is good for wiping surfaces.


I must also acknowledge Lizzie Dean Makes whose youtube tutorial was super helpful in making these.
