Homemade Port

Jon is a lucky man.  Tonight when he comes home there will a glass of homemade port waiting for him.  How many wives can say they’ve done that?  Hey?  Hey?  Now, aside from making my husband out to be some seasonally challenged Santa Clause, tonight I did indeed finish off and bottle up my homemade port.  And of course had a little sip along the way.

2015-03-04 21.26.08

It makes for a sort of russian doll of beverages – wine infused with sloes infused with gin, reinforced with brandy.  I feel we’ve done well from our single batch of sloes having made sloe gin and now port with the same lot of berries.  And we’ve made a decent amount of posh bevvy with very little effort.  On tasting, it’s not as sweet as I think of port being, which is no bad thing, and the flavour is very good.

2015-03-04 21.26.55

It does feel slightly out of season for port, however, with Christmas still a good way off, I’m not sure it will ‘keep’ that long.  Well, of course. it will keep, but I suppose what I really mean is whether Jon and I can keep our hands off it for that long!  As the nights get lighter, perhaps it will just have be port and lemonades on the decking.

*Sigh*

Life can be so tough…

Find the recipe on my previous blog post:

Sloe gin finished, now for Port!

Check out the various port cocktails on this website:

Port Cocktails

2015-03-04 21.25.57

Sloe gin finished, now for Port!

I began this project in October with sloes freshly picked during our anniversary weekend away in the Cotswolds, read about it here.  Though easy enough to make, the long wait that follows involves a mixture of curiosity and apprehension.  Will it work?  Did I pick the right recipe?  What if it more resembles a sickly, sticky cough syrup than the fragrant liqueur I was hoping for? After all, there will be no more sloes until next year, and that bottle of gin wasn’t cheap.

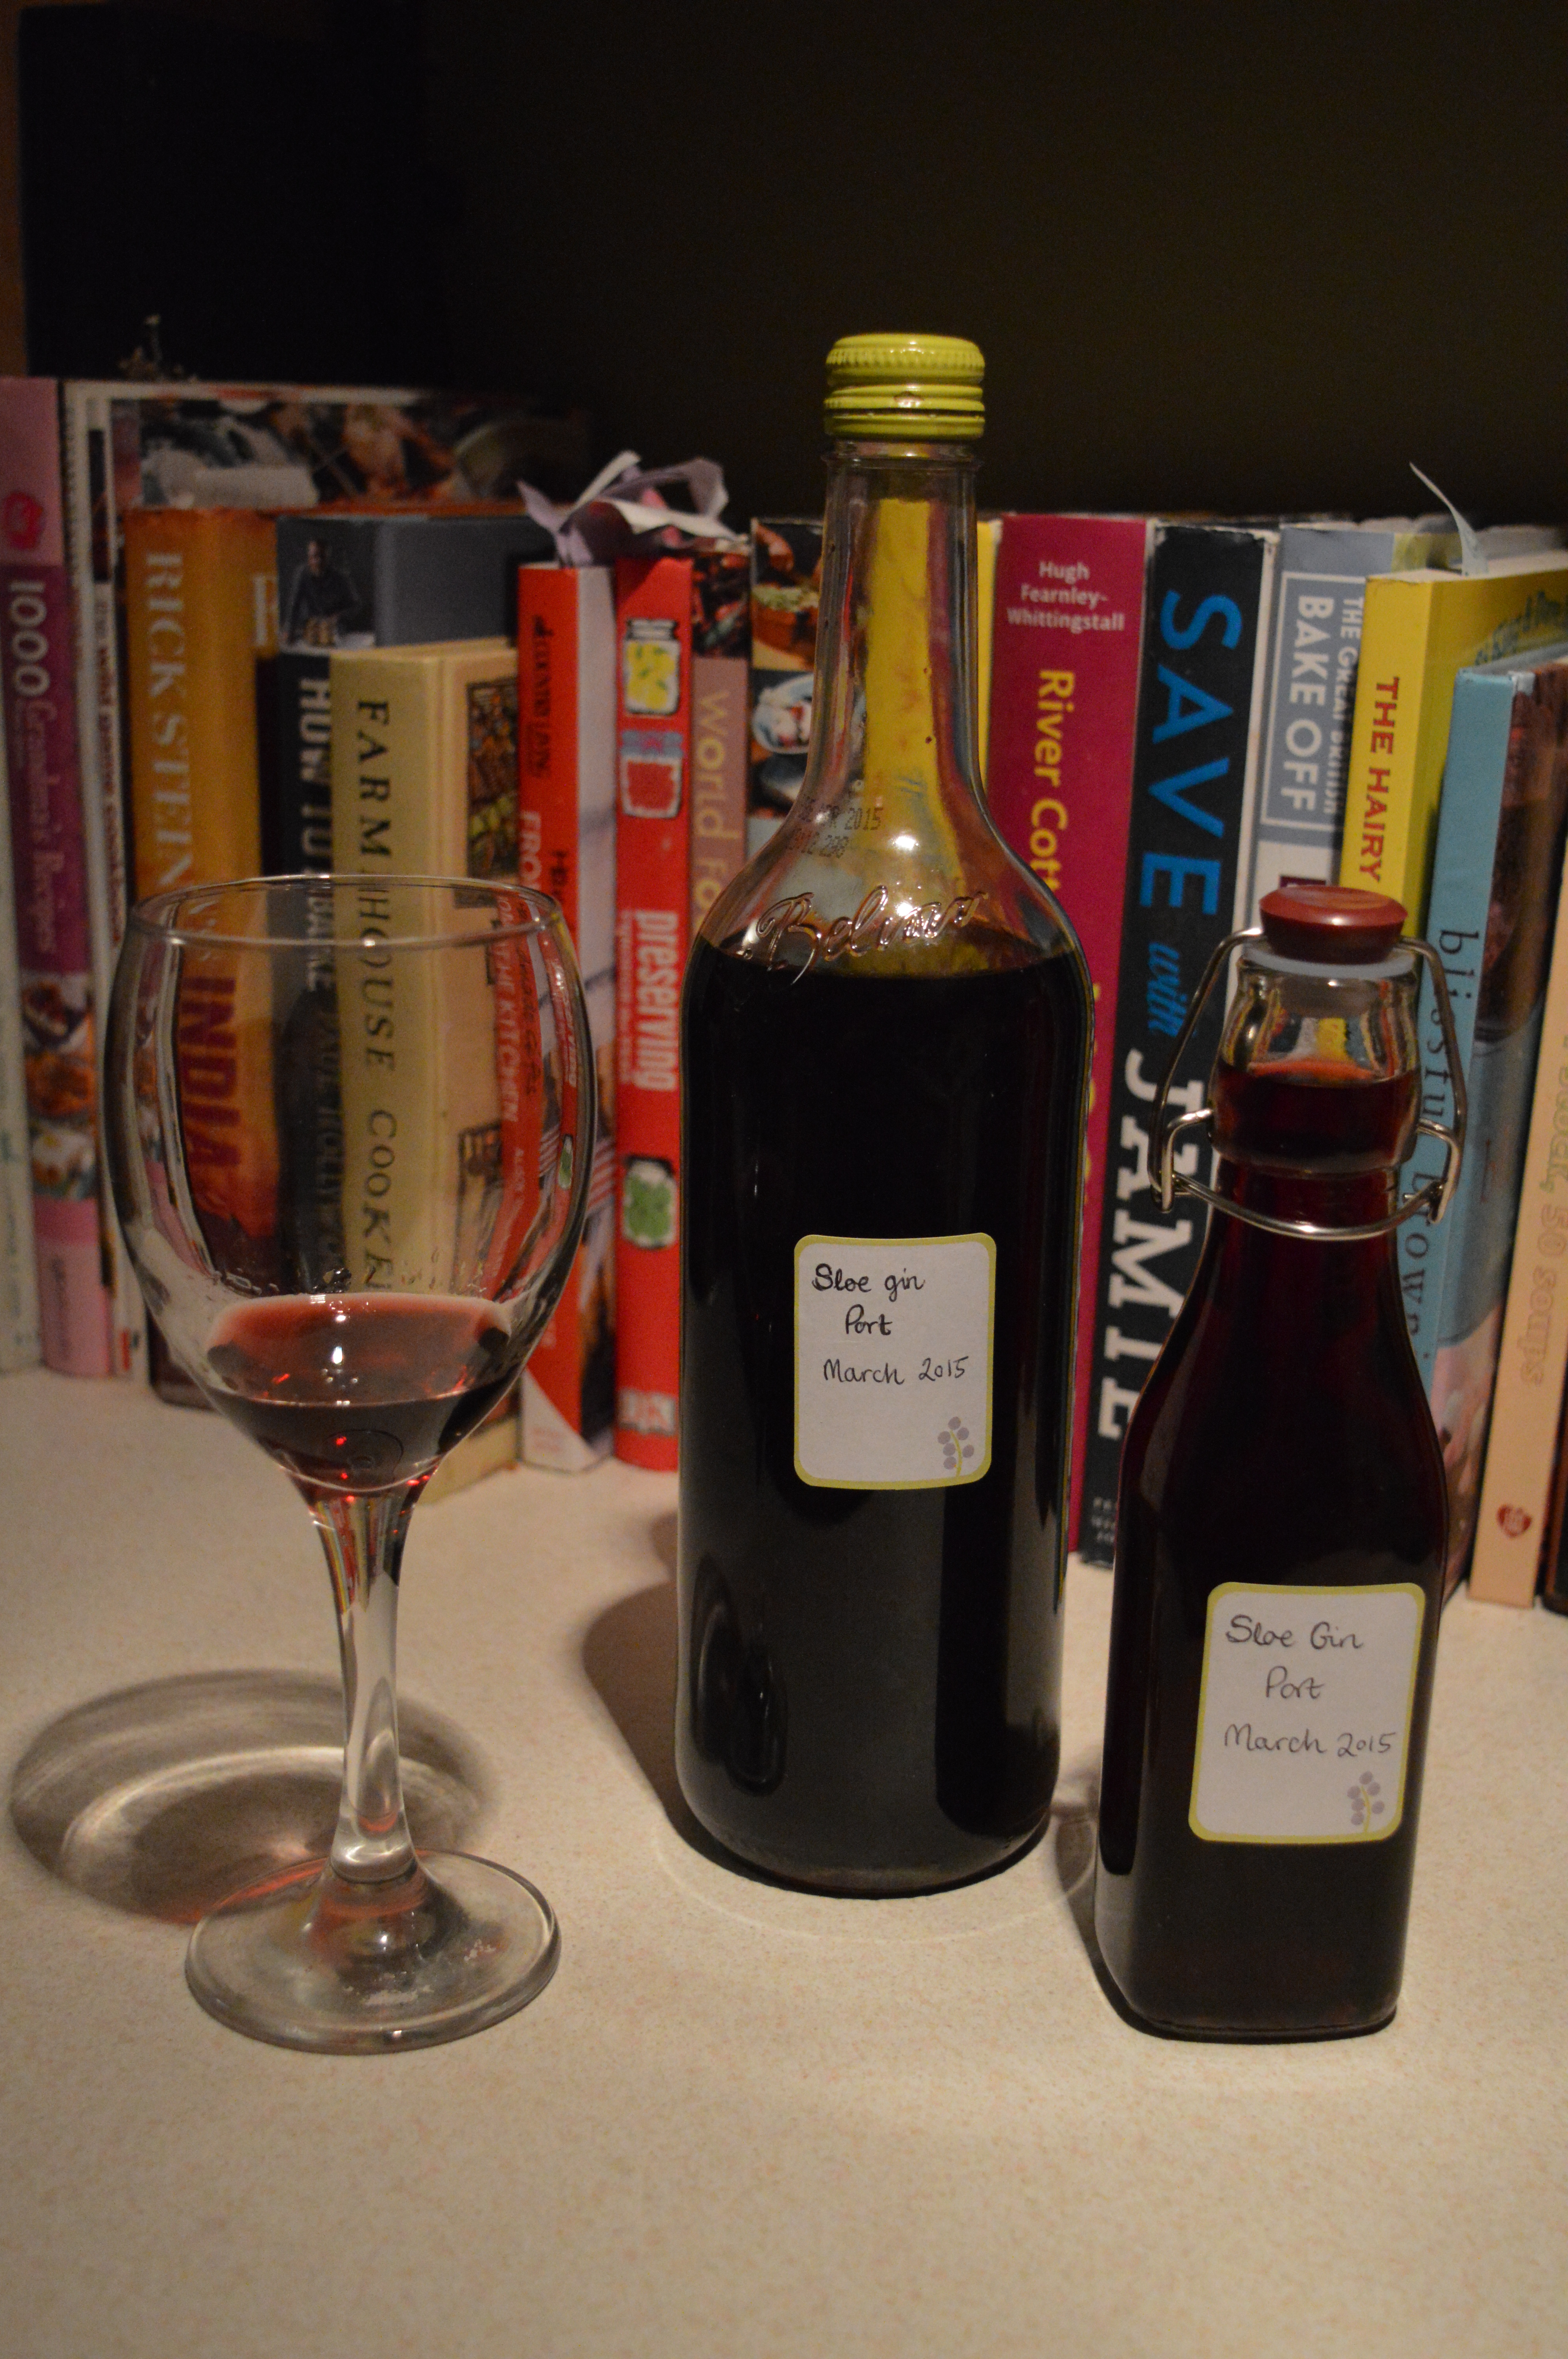
After eye-ing up the jars of berries and liquid for two months, watching the contents gradually deepening to a plummy red, it was finally time for bottling.  I saved up a few attractively shaped bottles for the task and sterilized them first.

Sadly, not quite all of the gin would fit in the bottles, (*sigh* whatever should I do?) This of course lead swiftly to an inevitable, but equally important task – tasting. Well, it was after 12 noon (just), so why not?  I filled the bottom of a wine glass…. and then became completely useless for the next half hour or so.  Warning: Do NOT underestimate its potency, regardless of how easily it slips down.

DSC_0042

These pretty labels gave the perfect finishing touch.  Find them here as a free printable by Alexis Snell.  We took a bottle to each of our parents’ homes over Christmas an the little one made a cute gift alongside some smokey cheese, homemade chutney and crackers.

For my original post ‘Sloe gin is a slow process’ and recipe click here.

Next year I am seriously considering picking a whole load and freezing them in batches or just making much greater quantities.  Though I naturally associate sloe gin with being a winter tipple, there is no reason why it should remain so – why not enjoy it all year round?  I would be as happy sipping this outside on a summer evening post barbecue as I would in front of a crackling fire.

But wait!

There’s more…

“More?” you ask.

Yes.  Why not put your left over sloes to good use?  Especially now that they are beautifully infused with gin.  The answer is…make your own port!  Bet you didn’t know you could make that at home.

Homemade Port Recipe

  • 500g sloes
  • 100g sugar
  • 1 750ml bottle of red wine
  • 200ml brandy

Combine sloes, sugar and wine in a large sterilised jar.  Leave for 6-8 weeks, shaking at regular intervals.  Add the brandy to fortify, and mix.  Transfer to sterilised presentation bottles.

Of course this is another waiting game so you will have to wait another 5-7 weeks to find out how that turns out.  If you’re a pinterester like me, (help is out there!) make sure you ‘pin’ this, or save it some other way because you are going to be wanting this when Autumn comes around again.

Have fun!

Button Bauble Christmas Cards

Looking for an idea for a festive Christmas card that doesn’t take too long?

Look no further.

I stumbled across this nifty idea a few weeks ago and was able to knock up a few cards in no time!  Now if you’re sending 50 or so Christmas cards this year (you popular person, you) then this may not be for you, but I sent around 25 this year and this was a simple and easy to replicate model.

DSC_0003

I like the bright non-traditional colours.  Try pastel combinations, pinks and reds, purples, greens and blues, use sparkly or unusually shaped buttons.

DSC_0004

You need only some card blanks (or make your own from card), a silver pen (or other coloured pen of you choice),  some pretty buttons (I got mine from The Works, UK) and some glue (Use PVA or even better, a bostik-type glue for a really secure hold).

DSC_0005

These little cards can be easily customized by using different buttons.  I am always struggling for ideas for male cards but by picking out some nice blues and greens you can create, if not a particularly macho card, a boy-friendly version.

DSC_0006

DSC_0007

DSC_0008

Begin by drawing the vertical lines, with a small ‘bow’ and little triangle at the end where you will place your button.  Then glue on the buttons.  Leave card flat until completely dry to avoid the buttons slipping down the card (as you will see happened to a couple of mine, though pretty nonetheless)

DSC_0009

Apologies for photo quality, I didn’t have the best light and was a bit impatient to get them into their envelopes!

DSC_0002

Haven’t done your Christmas cards yet?  Well, hurry up!  Only 9 days to go till Christmas!!!!!!!! Woooooohooooo!

Ghosts of Makings Past… #6: Gingerbread Houses

Whilst making continues, I thought I would post a few pictures of Christmases past for inspiration.  The subject today, namely, the humble Gingerbread House.

Now it is worth mentioning at the very outset that a good gingerbread recipe is essential.  It may look good, but it has to taste good too.  Gingerbread lasts well and, in my opinion, sort of matures as it is left for a few days.

IMAG0528

I must say I have to put aside the fact that something about a gingerbread house always gets me thinking of the less festive abode of the fairytale child-eating witch, which suggests these yummy residential 3D biscuits to be more suitable for halloween than Noel (if you go in for that sort of thing) But putting that aside and moving on.  These make the perfect gifts for friends or for presenting on your arrival at whoever’s house you find yourself at for Christmas celebrations. You should never turn up empty handed you know.  And look, I made them like little alpine lodges.  Not in the least bit witchy.

IMAG0529

These smaller houses were much easier to assemble than a full size house, and why make 1 when you can make 5??  And they only took an evening to do. Granted, I was still icing them at around 11.30 I seem to remember.

IMAG0530

And though it takes a while, the decorating is the best bit.  The possibilities are endless.  Use sweets, edible glitter, chocolate buttons, gold spray, shoelaces, marshmallows, silver balls and loads of icing to make your house look good enough (not) to eat.

IMG_2499

IMG_2578These were last year’s full size version, complete with little lights inside.

Of course the more time and detail you dedicate to your gingerbread project the better the outcome.  I must say, I am happy to leave them a little rough around the edges. They’re only going to get pulled apart anyway…

IMG_2582

Dad ^

Once finished, I wrap mine in cellophane (very carefully!) to keep the air out and to present them beautifully.